

As an Amazon Associate I earn from qualifying purchases.

I welcome you again
to our Youtube channel. My name is Holger and today I'm going to show you how
we make a classic roller shutter smart with Homematic IP. Here to my right you can already see a classic roller shutter, that is to
say with the electric motor, the armor and the two buttons at the top. These are also installed in many households
and we will now simply convert them to
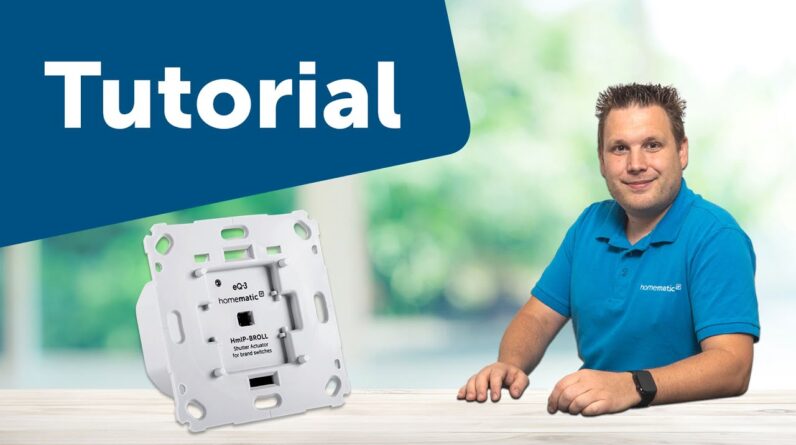
our Homematic IP roller shutter actuator. As you can see, I have already
installed the roller shutter actuator here. If you are unsure how something like this
works, it is best to contact an electrician.
Now we previously had this cover on our roller shutter switch or button. It really doesn't fit here anymore. You now have to work
with a single seesaw. These are available from an electrician or from
a hardware store. So we need a single rocker and a corresponding adapter that is suitable for this roller shutter actuator.
I now take my rocker, then put the rocker on my adapter, take the appropriate frame from the switch frame manufacturer and put it on my switch actuator. Now it looks like a switch again , but it's actually a button that you can use to raise and lower the roller shutters. The next step is
to teach the roller shutter actuator in our app. To do this, we click on the menu at the top and then on 'Teach in device'. Now we have to press the button on the device,
i.e. either remove the rocker and press the small button and create a
power supply or simply tap it.
That is enough to teach the device. We enter the last four digits of the serial number. I
quickly got these out of the box. We'll confirm that and wait a moment. The next step is that we assign the device to a corresponding room , which we will do next. We select the 'living room' room,
for example here for this roller shutter actuator. The next step is 'Assign a name', for example 'Roller shutter actuator for brand switch'. Remember, if you want to use Alexa or Google as a voice control system, you have to enter a name here that you can pronounce accordingly . So we'll just leave it
at 'Roller shutter actuator for brand switches'. The teach-in is actually already over, but we still have to do one thing. There is a 'Calibration run' item here. at the very end of the training. Calibration
means the device has to learn how long it
actually takes to go up and how long it takes to go all the way
down.

What is this important for? If you later want to control a certain blind value, for example if you want to move to 50 percent when there is light
, then the actuator must know how long the roller shutter has to be controlled for. To do this, we click on the 'calibration run'. You
could now either manually enter the travel times immediately
if you knew them, but we do it more intelligently: we use the
assistant. We press 'Continue' and then the roller shutter moves once through the positions. That means it checks where the end positions of the roller shutter are and measures the
times. Now we can finish that in the app with 'Done'. Now you have a smart roller shutter in
your house.
I'll show you once. We go into the living room, click once on the slider on the right, switch to the 'Shading' area and can now move the roller shutter actuator
for brand switches, as I called it, to a certain
position, for example 50 percent. We wait a moment and see that the shutter stops at about 50 percent. If you liked the video,
please check out our other videos and leave us a comment. I would like to say thank you for watching. Until next time!.
As an Amazon Associate I earn from qualifying purchases.


