

As an Amazon Associate I earn from qualifying purchases.

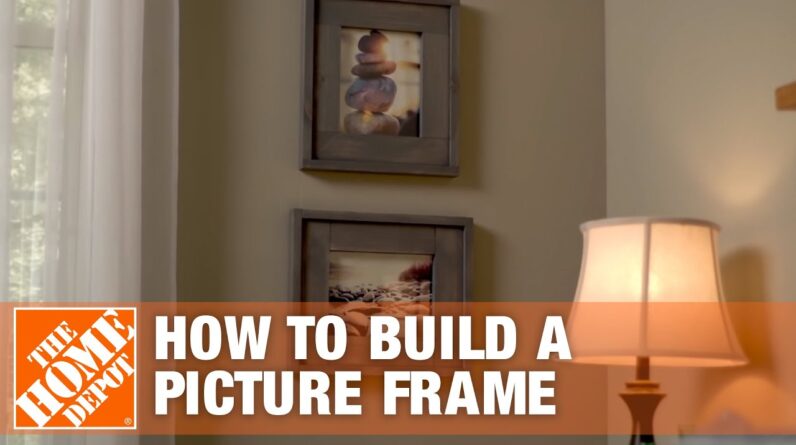
[MUSIC PLAYING] Rustic decor creates warmth
and natural beauty in the home. It also blends in well with
light and neutral colors. To help pull off the look,
add simple staple pieces to your collection like
rustic picture frames. You can create your
own DIY picture frame using lumber and some basic tools. To begin this project, decide on
a size for your picture frame. We'll be working with an 8-by-10-inch
frame, which is pretty standard. Next, pre-cut the lumber pieces
you'll need for the project.
We'll provide a cut
list for all the lumber necessary for this project as well
as a list of tools and materials you'll need at the end of this video. When creating the inner
section of the frame, the shorter boards should be
placed inside with the two longer boards on the outside. Clamp one of the outer
boards in position and apply glue to the ends of
each of the shorter boards. Check that the edges are flush
and attach these frame pieces using a nail gun.
Continue driving in nails to each joint
until the inner frame is complete. You can use a hammer and nails,
but a gun will speed the job and recess the nails. Lay out three layers of the hardboard
and lay this inner frame on top. This will raise the inner frame
up and create the offset needed when the outer frame is attached. When complete, the glass,
picture, and backing will be flush with the outer frame. Align the outer trim pieces. Clamp each joint as you go and attach
the outer frame to the inner frame using glue and the nail gun. Then remove all hardboard pieces
so that they don't accidentally get glued to the front of the
frame, and allow the glue to dry. Now do a dry run to make sure the
pieces fit correctly before you bond them together. Set both layers of the hardboard
into place, followed by the glass, and confirm everything fits correctly. Then dismantle the parts. Next, apply glue to each
edge of the inner frame. Lay down the first layer of hardboard
and attach with the nail gun.
Use 5/8 inch brads so you
don't poke through the frame. Repeat for the second layer of the
hardboard, and allow the glue to dry. Next up, attached two
sawtooth picture hangers to two adjoining edges
of the picture frame. These hangers should be centered
up on the outer trim pieces. This will give you the flexibility
to hang your picture horizontally or vertically. Then measure and mark the
center of all four sides near the opening for the glass. This is where each screen clip
will be screwed into place. Position each clip so it
doesn't block the opening and tighten the clips
just enough so they will stay in place once
turned into position and hold the glass and backing.
Sand the entire project and then
wipe it down with a tack cloth to get rid of the sawdust. You can apply a finish to the
picture frame or display as is. This rustic picture frame will
preserve the artwork of your choice and add to your home's decor. If you decide to take on this
DIY picture frame project, here are all the materials you'll
need to create a rustic picture frame. Here is the cut list of
the lumber you'll need, and lastly, all the
tools needed for the job. For more detailed information
about this and many other projects, check out the DIY Projects and
Ideas Section of HomeDepot.com or talk to one of our store associates.
Good luck, and thanks for
shopping at The Home Depot.
As an Amazon Associate I earn from qualifying purchases.


