

As an Amazon Associate I earn from qualifying purchases.

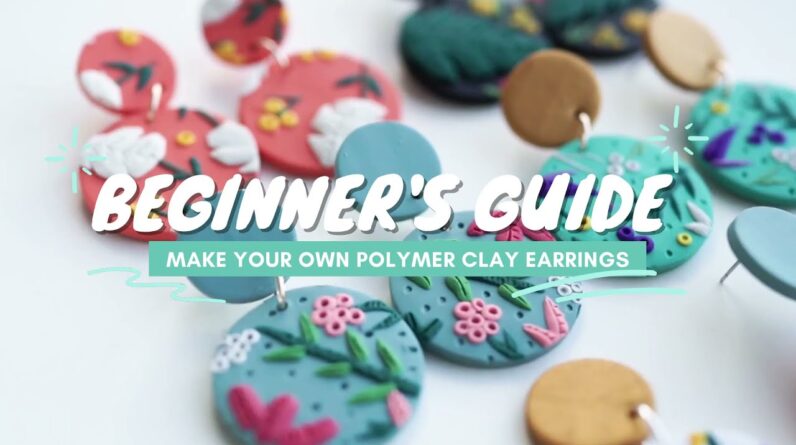
Hi everyone! So, polymer clay earrings has been blowing up all over social media lately, and I thought I'd put together a quick beginner's guide for you. You're gonna need a cutting mat or a ceramic tile. Pasta machine, and if you don't have a pasta machine you can use an acrylic rolling pin. You're gonna need a blade. A dotting tool, and this is just a nail art tool but you can even use old chopsticks. Shape cutters Sandpaper Oven thermometer Pliers Different findings like jump rings, hooks, posts and backings. And of course you're gonna need polymer clay! The brand that I use is from the Sculpey line, and I would recommend starting off with Premo. I usually use Premo for my bases and Sculpey 3 for my designs. I would not recommend using Sculpey 3 for bases as it is a lot more delicate and will definitely break easily. Alright, let's get into it! The first thing you're gonna do is choose a colour that you'd like for your base and run it through the pasta machine. Just run it through the pasta machine, fold it in half and repeat.
The pasta machine is probably the easiest way to do this but if you don't have a pasta machine, you can use the acrylic rolling pin. This is called conditioning your clay and it gets all the air bubbles out. If you don't condition your clay enough it may break after baking or they may be air bubbles popping up which doesn't really look great.
You're gonna aim to get a nice even surface on both sides. Here comes the fun part! Adding designs. I use Sculpey 3 for my designs because it is a lot easier to mould with your hands to compared to Premo. For this slab of clay, I'll be doing simple and abstract. I'm gonna be adding lots of blobs, and patches, lines and dots. Don't forget that you can mix your own shades, play around with colours, see what you come up with! With your blade, you can use it to cut even pieces, and the dotting tool is really great to pick pieces up with especially if they're super tiny and if you have chunky fingers like me! Take your time with your slab design and just have fun with it.
Try your best to fill up all the gaps so I'm just adding lots of squiggly lines and dots and don't forget that you can use your dotting tool to add little details at the end. Now that you're done with your slab design, you're ready to cut the pieces up. I'm gonna try to keep this simple and use a round shape cutter. Try your best to get as much of the design as possible so you don't waste any. You can always get creative when cutting up the pieces so I'm just gonna use a small cutter just like this and you can get a different shape. For these ones I'm gonna cut them in half so I get something a bit more different. Once you have all of your pieces, you do need to poke a hole for the jump rings to go through.

So, I prefer to poke the holes in before baking because I find drilling holes after such a mess. I just use my dotting tool to poke little holes and its safer to poke the holes slightly bigger so that the jump rings can go through. A really good trick I learnt is before you bake the pieces trim off any of the edges so you save time on sanding later. Baking is probably the trickiest part of the whole process. Make sure that you've got a bake setting on your oven and preheat it to 130 degrees celcius. Get an oven thermometer so that you can so you can make sure that your temperature is accurate. If you've got a ceramic tile, you can just pop it straight into the oven.
If not, you can bake them on a baking tray with some baking paper on it. I bake my pieces for at least 50 minutes but I would recommend checking on them every 5-10 minutes to make sure that your pieces don't burn. Once your pieces have cooled, you can start sanding the edges down. If there are big chunks to sand off you can just use your blade to trim them off instead. For this pair of earrings, I'm gonna add studs to them and I'll do a separate video on how I attach the studs. To combine the pieces, you will need a jump ring in between each piece.
Use your pliers to open up the jump ring like this and combine the pieces together. These hooks usually need a bit of adjusting so that it's facing the right way and I just use the pliers to turn it gently. And there you go! You've got a pair of earrings! There's so many ways to make polymer clay earrings so make sure you have a look around at other tutorials to see what works for you. Feel free to comment down below with any questions you may have and I will try my best to answer them. Hope you enjoy that little tutorial and don't forget to subscribe for more videos!.
As an Amazon Associate I earn from qualifying purchases.


