


As an Amazon Associate I earn from qualifying purchases.

Hello everyone, welcome to this channel this channel is mainly for DIY contant, I will share some of my daily DIY production process,I hope you like it please like, subscribe and forward. Today’s topic is terrazzo lamp let's get started! The list is some materials to be used this time. First, I used a paper box to make a mold. The same method was used in the previous video Because there are a lot of express boxes, it’s a pity to waste it so I will use it and use the paper box to make the mold. Cut out the each side of mold and paste it with tape, to make the surface as flat as possible, which is more convenient for demoulding afterwards. A socket should be placed in the middle of the lamp,
so there should be a cylinder in the middle. After measuring the size,
it was found that the cylinder in the kitchen towel was just right. Cut a few cuts along the edge of the cylinder, open it, and fix it on the cardboard at the bottom. Use the remaining cardboard to fold out a small cylinder This is the place reserved for wires Along the side of the big cylinder, also stick it to the base Paste all the pieces together like this in the video After finishing, you may find that the position of the middle cylinder is a little bit off, but it doesn't matter, you can adjust it later.
After the mold was completed, I started to adjust the cement This time I added some white sand to the white cement Some friends may ask, do you have to add sand when you mix the cement After several experiments, I feel that sand is not necessary For example, some productions with relatively small size,
or productions that do not require a high hardness are actually fine without adding sand. When mixing the cement, add water slowly,don't add too much at once If you add too much water, the cement will easily crack afterwards. After the cement is blended, I added a little black cement color, and I want to make a gray background. After you are satisfied with the background color, add other color fragments This time the color scheme is white, dark gray, and purple,
plus a light gray background After adding the pieces, continue to blend until uniform For a video on how to make color fragments, please refer to the link above.
Slowly pour the cement into the mold then gently shake it until the surface of the cement is flat Then we use tape to adjust the position of the middle cylinder. After confirming that the cylinder is in the middle position,
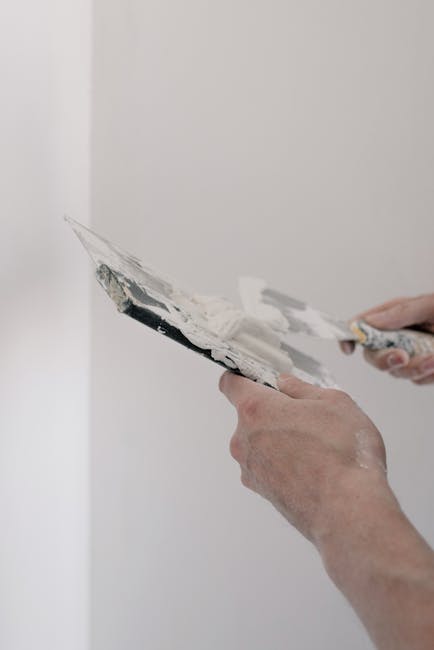
it can be left to dry. I left it for two days. After two days, can be demolded I tear off the tape and cut the paper mold A gray cement block is exposed in the middle. Now I can't see any other colors at all. The next step is the polishing time Put the cement block in the sink, first use 80-mesh sandpaper and soon the surface color will be revealed. Then use 200- or 800-mesh sandpaper to grind the surface more smoothly. After the polishing is completed, the shape is first seen Leave it for another night, after the water dries,
you can spray clear paint</font>
</font> These steps are similar to the previous video You can also take a look at the previous video for detailed instructions. After the paint is dry, it is almost complete and finally put in the wires and switches.
Here I painted the top part black in advance with acrylic paint, which looks better than the original white plug. Plug in the power and the lamp is complete~~~ The moment the lamp lights up is still very happy Let's take a look at the effect after completion. Thanks for watching, and welcome to like, subscribe and forward If you have any questions about the content of this video please feel free to leave a message, I will reply as soon as possible, thank you!.
As an Amazon Associate I earn from qualifying purchases.


