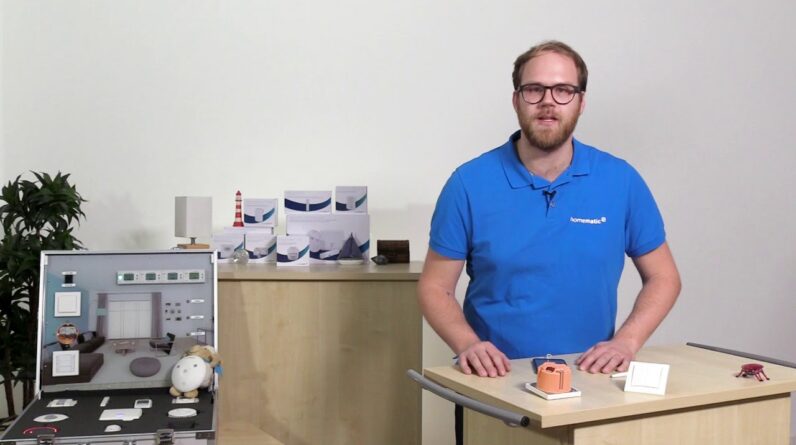
Good morning! Welcome to our Homematic IP YouTube channel! I brought you our smart
all-rounder today – the flush-mounted 1-way contact interface. Nice little module
with two wires. To which we connect everything possible to potential-free contacts. Magnetic contacts, switches or buttons – it doesn't matter! So, we just want to learn this contact interface now. We select 'Teach in device' from the menu,
press the system button on the device once and a short time
later it should now report to the app.
There it is! The last four digits of the SGTIN can be found on the device sticker or on the QR code sticker that is also included with the devices. I confirm the entry with the blue check mark at the bottom right. We can
already see that this is the right device. Next we need to select in
which room will this device be deposited. Let's just take the living room, confirm the whole thing with
'Next' and give it a name. 'Contact interface flush-mounted – 1-way' is set by default – we just leave it as it is and confirm with 'Next'.

Now we are asked what we want to do. Do we want to use this device in the 'room climate' to lower the temperature when
airing? Or 'light and shade? There we can control actuators that are assigned to the topic 'light and shade'. Under
'Security' we can monitor windows or doors via contacts. We
want to switch a light on and off later, so select 'Light and burial'
and confirm with 'Next'. That's about it – our contact interface has now been properly trained and can now use it
to control lights and shading elements. That's it – now you've
got a small overview of what our smart all-rounder can do. I think it will help you with many of your projects. Nice that you stuck with it! In the meantime I have installed our contact interface in a normal cavity wall box behind a switch.
Now I want to show you how we set it up so that we can now turn our floor lamp on and off with this. We now create a switching group in the menu area 'Light and shading'. There we select 'Groups' and create a new switching group with '+'. We simply call this 'Light', confirm the whole thing with 'Next' and now select our 'Floor Lamp' as the device that we want to switch . We confirm this again with 'Next'. In the next step , we now select our flush-mounted contact interface and click 'Next' again. Now we see our assignment here: Two devices are assigned, the duty cycle is set to 'infinite' – we want to do it that way and the 'Action on actuation' is set to 'Toggle'. After the configuration data has been transferred , we can turn our light on and off with this switch. I hope you enjoyed this
video and you already have many ideas where you want to use our smart all-
rounder! Please let us know! Feel free to write that in the comments and see you next time!
As an Amazon Associate I earn from qualifying purchases.


