As an Amazon Associate I earn from qualifying purchases.

(Image credit: Heather Barker )
Taking a look at the detailed information of the world through the lens of a microscopic lense is an interesting and enjoyable experience, however you do not require to restrict yourself to the ready slides that include it– making your own microscopic lense slides can be simply as enjoyable and incredibly fulfilling.
You have an option of short-lived or irreversible, dry or damp installs, depending upon the specimen you pick to observe. It’s likewise essential to think about how to keep yourselves safe: plastic products and tools might be much better for kids, and biological matter requires to be cleaned up and gotten rid of sufficiently, to avoid the transfer of damaging pathogens.
To get you began, as soon as you’ve purchased among the very best microscopic lens for kids or finest microscopic lens for trainees, a well-stocked slide devices box need to consist of the following products: Ground glass slides, anxiety concave well moves, cover slips, ceramic tile, knife, pipette, tweezers, installed needle, Scotch tape, clear nail varnish, beaker, cotton swab, mixed drink sticks, iodine, methylene blue, eosin, glycerine, disinfectant, great irreversible marker.
Likewise bear in mind that lots of samples can be installed just, without any professional devices at all.
Which kind of slide is required?
When choosing which slides are best for your specific requirements, you initially require to consider who will be utilizing them, which specimens are most likely to be analyzed and the expense.
Plastic slides have the advantage of being more affordable and less harmful than glass slides, so are more typically
On the other hand, glass slides are breakable and are a cutting threat when broken. Due to the remarkable optical quality, clearer images, sturdiness and chemical resistance, glass is the favored slide option for many microscopy jobs; these are an outstanding choice for home or education functions. The very best ones will come pre-cleaned.
Get the world’s most remarkable discoveries provided directly to your inbox.
Pick exceptional quality ground glass slides, instead of cut glass slides, for smoother edges, which are less most likely to chip and trigger cuts. For an even much safer option, Swift offers pre-cleaned ground glass slides with the corners removed, ground to 45o
Possibly likewise think about some add-ons. If you are enthusiastic about finding living organisms in water samples, why not treat yourself to some concave well moves? There are a variety of single, double and triple well anxiety concave slides that have smooth edges and corners. There are likewise moves with frosted panels for composing on. These work for labeling, if samples are to be kept for future usage.
Pipettes are vital for moving liquids in small amounts, tweezers are perfect for moving strong samples onto your slide, and installed needles help the proper positioning of cover slips to assist avoid air bubbles.
After you have actually prepared your own irreversible slides, pick a fit-for-purpose box with slot dividers and mathematical documents card. This will assist keep your slides arranged, safe from damage and dust-free.
Dry installing
The quickest and simplest method to observe something under the microscopic lense is to do a dry install. In its the majority of standard kind, this might merely include positioning your item under the microscopic lense, putting the specimen straight onto the phase. Bigger items work well with this strategy: torn paper, plumes, string, hair, natural fibers or wool.
Smaller sized particles, in the type of different granules, would take advantage of being put onto a slide before being put onto the phase: they are much smaller sized and lighter, so might quickly be removed. They likewise require a platform so they can be moved the phase efficiently. Attempt the following dry install samples: pollen, soil, powders, dust, sand, sugar, salt.
Scotch tape can be utilized to gather, move and repair dry install specimens like pollen from this weeping willow. (Image credit: Heather Barker)
It can be advantageous to cover your samples with a cover slip, so they do not blow away, or for security if they present a danger of contamination, such as mould or germs. A leading layer can likewise flatten out your sample, to make focusing simpler when the specimen lies within the exact same horizontal airplane.
An option to a glass coverslip is to utilize Scotch tape. As producing a barrier in between the specimen and the unbiased lens, Scotch tape’s sticky home can be made use of to adhere matter and move it efficiently to the slide.
[Wet installing
Compounds that are susceptible to dehydration will require to be damp installed. Including a drop of liquid to your sample will suggest that it does not break down as rapidly. This is especially essential for biological tissues and cells.
Water is frequently utilized for damp installs. Saline is perfect for protecting the cell membranes of germs, while glycerine can assist avoid dryness and shrinking and is utilized for plant samples, consisting of pollen. In any case, it is essential to utilize just a little drop of liquid so that it does not bleed out beyond the edges of the coverslip.
Living animals will likewise require to be installed with some water from their environment. This can be done as a bead onto a slide, with a coverslip on top, or into a depressed concave well. Purchase some plastic pipettes so that you can move small amounts of liquids while reducing the threat of damage to living animals.
Get rid of excess stain with filter paper or tissue. (Image credit: Heather Barker)
We advise buying a couple of discolorations to take your home microscopy to the next level. Performing as a damp install medium, a stain will likewise have a particular function, due to the compound that it will be responding with, highlighting exact cell structures and enhancing presence of organelles.
Iodine turns blue-black in the existence of starch, and is especially beneficial when observing plant cells as it specifies cell membranes and nuclei. Methylene blue is typically utilized to increase contrast in between cells and their background, which is why it is perfect for taking a look at cheek cells. Eosin spots collagen, muscle, cytoplasm and red cell.
Utilizing a coverslip
Coverslips are little, very thin glass plates that are
Being so delicate, they are more harmful than the slide itself. Grownups need to make sure to eliminate coverslips from their container before they are utilized by kids. Sharpening your coverslip strategy is essential in order to maintain the sample without squashing it, prevent bubbles and include the stain.
After the sample has actually been moved onto the slide and one drop of the suitable stain has actually been pipetted onto it, the coverslip should be put on one edge, beside the ready sample. Utilize an installed needle to hold the coverslip at a 45 degree angle. Gradually and carefully lower the coverslip so that it falls onto the specimen. Do stagnate it or push it down. As long as you keep the slide level, surface area stress will hold the coverslip in location.
A microscopist’s tool package ought to consist of slides, coverslips, a cutting tile, knife, installed needle, pipette, tweezers, spots, Scotch tape, clear nail varnish, cotton swab and mixed drink sticks. (Image credit: Heather Barker)
If you have actually utilized the right amount of stain, it needs to
These momentary damp install slides can quickly be cleaned, dried and recycled, making sure to decontaminate any that have actually had body tissue or saliva on them. If you want to make long-term slides, attempt setting your sample into a drop of clear nail varnish before including a coverslip.
Crafty options
If you discover yourself with no glass slides, or if you simply elegant being a little imaginative, there are a couple of methods of making ones with daily home products.
Laminating is an exceptional method to maintain flat samples that you can keep completely. Plumes, hairs, sand, pollen and other dry samples work wonderfully.
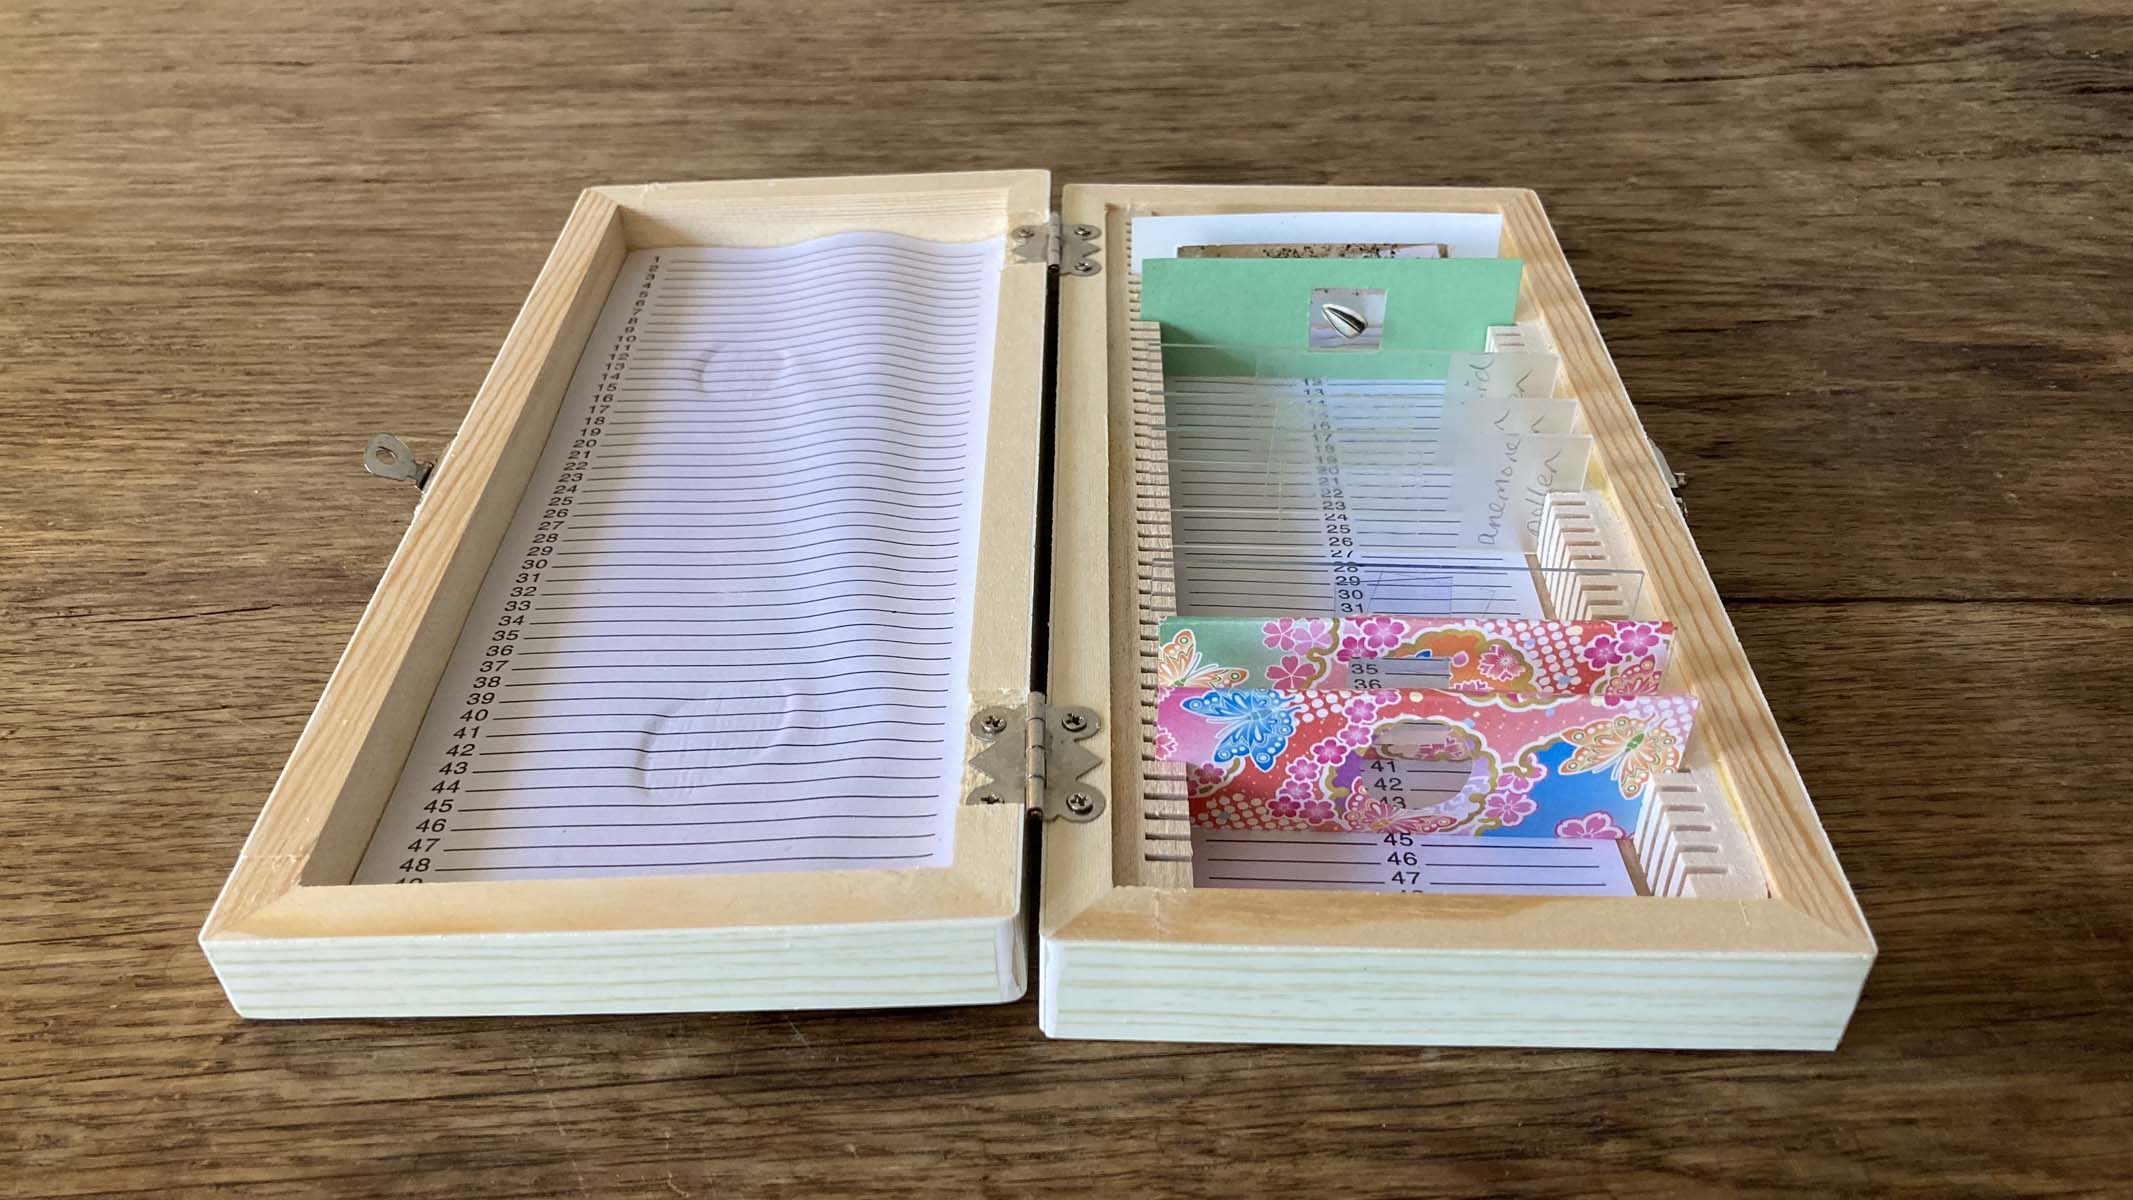
We advise saving your slides in a purpose-made box. This will keep your hand-prepared slides arranged while avoiding damage and UV deterioration. (Image credit: Heather Barker)
As formerly pointed out, Scotch tape can work remarkably for getting or moving really little samples. Rather of sticking them to a slide, you can stick the tape straight onto a piece of stiff card that has a 1cm hole cut into it. This ought to be stiff sufficient to hold the tape flat. Cut to 75mm x 25mm, it will be the exact same size as a basic glass slide.
Another imaginative concept is to utilize a themed paper wrap for your slide. In the 1800s, in Paris, paper slide covers were utilized to hold coverslips in location. Afterwards, the practice continued for visual factors. Paper covers can be folded around the beyond your glass or plastic, to embellish irreversible slides. A paper sheet might be cut and sandwiched in between your laminates, with the sample inside a circular cutout. Have a little enjoyable here: there’s no factor that researchers can’t be creative too!
Heather Barker is Head of Science at All Hallows Prep-School in Somerset, England. She has actually been informing youths in between the ages of 5 and 19, as an instructor and personal tutor, because 2012. Studying graphics with illustration to keep herself psychologically challenged while bringing up her household, Heather re-trained by carrying out a Science degree with the Open University. Finished a Master’s degree in Developmental Biology and Biochemistry at The University of Bath in 2010. Later, Heather began work at the university as a Research Assistant, utilizing histology and genes to study the development of sticklebacks, before certifying as an instructor in the Graduate training program.
Find out more
As an Amazon Associate I earn from qualifying purchases.