

As an Amazon Associate I earn from qualifying purchases.

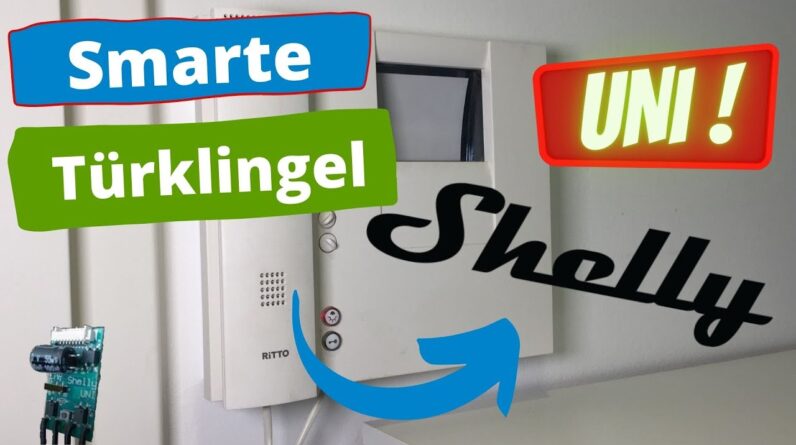
Hey guys. I hope you are doing great. Welcome to Jan's technology channel. My name is Jan and whenever I do something technical at home, I create a video for you so that you can hopefully benefit from my small projects. Today is about a topic that was very important to my wife. A smart doorbell. The following happens to us again and again: someone rings the doorbell, you see – some solution had to be found. So I did a little research on the internet and came up with different solutions . Since I already had good experiences with the WLAN relays from Shelly, as in my other video , I stopped by and actually found something suitable.
I have now ordered the Shelly Uni for about 10 euros. The Shelly Uni is advertised with the slogan: Convert Anything to smart. I have to say – that comes close. It is a small device – a circuit board with WIFI function and various connection options to query different switching states and to do something with them. It is advertised to me very small: You should be able to monitor everything with it: And the cheapest method to measure the temperature – no matter where we are.
Some technical data: 20mm x 33 x 13mm power supply in the range of: 12V-36V DC and 12V-24V AC. Digital inputs in the range of 2.2-36V DC and 12-24V AC. I also thought the exemplary circuit diagrams gave me a good picture. As I said – I ordered one and we will now try to make the doorbell smart with it. The goal is: – Whenever someone rings the doorbell, I should receive a notification on my smartphone and Apple Watch – Alexa on the terrace should announce the visit with an announcement. So let's go – oh one more thing. I would be very happy if you would subscribe to my channel if you are interested in such topics. You will then always be informed about new videos. But now really: let's go: this is our doorbell system.
A system from Ritto – based on a TwinBus system. Fortunately, the case can be easily snapped out in two places on the underside with a screwdriver. So I take the case off and put it down. There are 4 twin wires from the wall to the system. I googled it on the internet. I'm an IT lover and bell systems and telecommunications systems are still a book with seven seals to me . Actually, I was hoping to find a relay contact here that I can tap – but this is not the case due to the twin bus. So first I'll see where I can get power for the Shelly. To do this, I simply measure the wiring harness with the red and blue cables. Great – the meter shows a direct current of 25.8 V. Thus absolutely in the range of the Shelly Uni. As a reminder – with direct current, this range was DC: 12V-36V So – then we pull out the plug and screw the shelly to the power connections.
Take a look at the circuit diagrams – the Shelly's power supply is the red + black cable. We now connect these two with the red and blue bell wire. And as you can see – the Shelly is already glowing. So we already have electricity. Great – let's go on. What we have to do now is to set up the Shelly in the WLAN. Little tip. First check your W <LAN connections whether the shelly is really ready for use and whether it is broadcasting its own Wlan system. If this is the case, go to the Shelly app and click on "Add new devices". Confirm which WLAN the Shelly should be integrated into and click Next. It is best to scroll down completely and select "inlcude all". The searcher takes a few seconds to confirm that it is the Shelly that was found.

Now click on "discovered devices" to add the new Shelly. Name the Shelly – me for example as "Door", select a room and a device picture and click on save device. I confirm the message whether the Shelly should connect to the cloud – so communication is given beyond your own four walls. You can now see 2 switches. One door and 2) door.
This is because the Shelly has 2 sensors. I still check whether there is a firmware update – but everything looks fine here. I am not offered any. Now it is a matter of finding a contact who has a different switch position than normal when or after the doorbell rings . To do this, I put the sensor wire on the bell system in different places and press the bell. I watch the app to see whether the status changes here. Lo and behold – I've found a contact who changes the status when the doorbell rings in the app and the circle goes out. This can therefore be used as a trigger for the scenes.
I test the whole thing a little further and see from the large connections (which are probably intended for an extension) that it behaves the same here. Here I can then solder the wire. I isolated the shelly a little and put on the light brown signal cable for the soldering . The soldering point then looks tip top to me. Now we put the plug back on and take everything back down. Before we put on the housing, a quick check – it still works. Now we first create a scene in the Shelly app: Name: DoorBell message Select room + picture and click Save Then expand the front door and door and select “If the Contact goes out " Select " for every change "as the Condition Type . Since we want something to appear in the log, we select "Add to event from" as the action. Next, we would like a notification to Amazon Alexa. So select Notify on Alexa and click Add. Finally we save the scene. We are now testing whether the scene actually records a ring in the event log.
We ring the doorbell once – the contact goes out briefly in the app and a look at the EventLog shows that the bell action was logged here. We now change the Amazon Alexa app. Wechels to Geröte and click on the plus on the top right. Click on Add Device, select others and click on "Discover Devices". Devices were found – click on Next. Select only "Doorbell Message". Now create a new routine. Enter a routine name – in our example we use "Doorbell message". Configures that this routine should always be triggered when the device Doorbell message is pressed. As an action, Alex should say “Somebody rings the doorbell”. Select the Alexa that should say the sentence and save the new routine.
Now it is time. When someone rings the doorbell, a message appears on their smartphone that says Alexa: "Somebody rings the doorbell" and the corresponding message appears on the clock: So – I'm back. As you can see, it is then quite easy to make a doorbell smart. I hope you liked it. Do you have any other ideas and need help to make something smart? Just write in my comments what you would like. Maybe I can take a look at it and bring a suitable video to it. Otherwise I wish you all well and look forward to the next one with you. Until then – bye bye – your Jan from Jan's technik channel!.
As an Amazon Associate I earn from qualifying purchases.


