

As an Amazon Associate I earn from qualifying purchases.

Hello in today's video we would like to show you our universal actuator. Our universal actuator is probably the most important device next to the roller shutter control. And as the name suggests, it can be used universally. Today we will show some applications that can be implemented with the universal actuator. We will start with the light control. In our room it is currently the case that we can switch the lighting on and off in the entire room. This isn't entirely unusual, but we've divided our space into two areas: the work area and the living area. We would now like to be able to control these two areas separately by radio. And this is where our universal actuator comes into play. Nevertheless, it should still be possible to switch the work area on and off using the light switch. And now we'll show you how that works. An important note right at the beginning: Of course, all this work may only be carried out by a trained electrician. We would like to make our light radio-capable and the first question is where is the universal actuator installed.
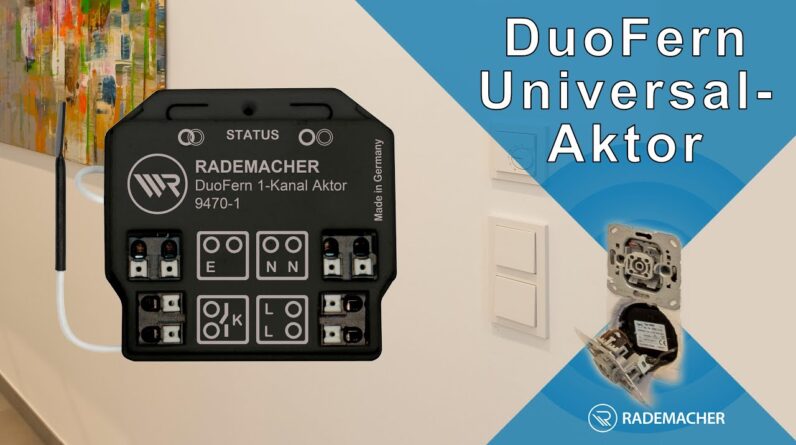
This is very simple, it is usually simply connected behind the existing light switch. If you have an alternating circuit, as in our case, you have to know where your lamp wire arrives and then the actuator is installed there, which is exactly the case here, so I will also install the actuator here. The actuator has external inputs for existing switches or buttons. There is a separate input for each channel. And then we have the relay outputs, where our light is connected. That's exactly what I'm going to do now, I'll remove the light switch, install the actuator behind it and then we'll be right back.
An important note: Before you install the actuator, you will find a small radio code on the actuator that you should definitely remove, because you can use it to connect the device to the HomePilot afterwards . If you don't use a HomePilot at all, i.e. only use our standard hand-held transmitter, you have to press the small button up here to connect and you can then use it to register the transmitter. The actuator has disappeared behind our light switch. If the last covers can be put on here, then we can test directly. We just turned the voltage back on. So we can now switch our light on and off separately in these two areas with the light switch as usual, i.e.
Only switch on the work area with the light switch. The next step is to register with the HomePilot I can now easily register from the couch using our HomePilot app. We will now do it in such a way that we register the devices using a radio code. A brief note on this: The devices can be reached via the radio for up to two hours after being connected to the mains . I brought it with me from Code, so I'll start here now and the radio code is 43a247. Incidentally, the radio code can have ten or six digits. Something has already happened there.

Now both channels appear directly here and I can now name them accordingly. So I can now give each channel a name. One more note: Once the devices have been registered on the HomePilot or on the Bridge, I can start the registration mode again later, for example to register a hand-held transmitter directly or to register a wall switch, which means I no longer need to use the radio code. Just go to the Remote login function, which can be found in the general configuration. Now we see our two lights here, one in the living room and one in the study, and I can now operate them separately. That's how it should be, that was the goal. And the same also applies to the work area, so I can also operate the light here completely separately from the living area.
Another topic: switchable sockets. This is also no problem with the universal actuator. You simply remove the cover from the socket, remove the socket, the actuator then disappears behind the socket, put everything back together, cover on and you can easily switch floor lamps on and off with your smartphone, as we do here. The outdoor area, also a huge issue. You can install our universal actuator in a box suitable for outdoor use and control your outdoor lighting accordingly. We recently showed an application example here. We installed our DuoFern window/door contact on the patio door. And when it is dark in the evening and the patio door is opened, the outside lighting is switched on accordingly.
This is really very practical, I also use it privately, plus our universal actuators have a staircase function. So you can specify when the light is switched off again and this time can be set from 100 milliseconds to 55 minutes. Or think of your sidewalk lighting or fountains. Streams when the pumps are to be turned on and off. All this is also possible with the actuator. And don't forget the garden irrigation. A very practical application, especially during the holiday season. Our actuators have potential-free contacts, which means you can not only switch 230 volts, you can also switch 12 and 24 volts and use them to control the solenoid valves, for example. And so the garden is watered automatically. At the end of the day, what remains to be said? Plenty of options, whether with or without HomePilot, as soon as the actuators are installed, all doors are open.
Not only the time control, which I can do with the HomePilot, but also the control by voice is possible and that's why the following works: Alexa! Turn off the light! A note so that you don't miss any of our videos: Please click on the subscribe button here. As I said for today, thanks for watching and see you next time. Bye..
As an Amazon Associate I earn from qualifying purchases.


