

As an Amazon Associate I earn from qualifying purchases.

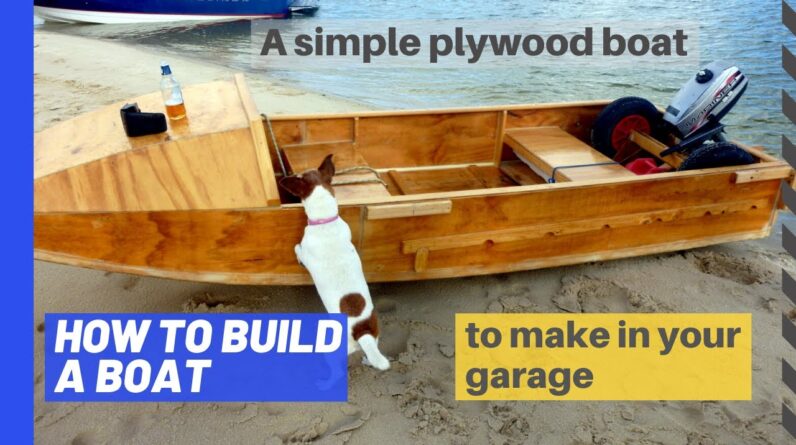
This video is an overview of how to build a small boat. Over a period of a month, in our spare time my son and myself built a 3 metre plywood boat in a one car garage. For little money and some basic tools, we ended up with a fast stable craft that you could walk to the water. And in Queensland Australia, you don't need a license and the boat doesn't need to be registered.
So the boat started life as a sketch, with some dimensions on it. I used a free CAD program called Delftship, to create the boat in 3D. The Program generates a lines plan which is a layout of all the pieces that make up the hull. with dimensions on it. The material list for the boat's not very big a few sheets of plywood and some pine framing from the local hardware store (Bunnings). The plywood's scarfed together to make up the full length of the boat. I then transferred with pencil, the dimensions from the lines plans onto the plywood. Then we cutout all the pieces with the jigsaw. Once the pieces are cut, it's really cool to see how quickly the boat takes shape.
Once you start bringing the pieces together. The shape of the hull on this is a little unusual. It was an experiment. Which, in the end didn't really work out. But that's OK. It was easy to cut and modify later on. (next video) The pieces that make up the shell of the hull are brought together around the frame and the transom. The flat plate at the back of the boat. The pieces are all screwed together temporarily with tangs of metal blocks of wood, screws, you can even use cable ties. It doesn't really mater putting holes in the wood because you'll fill after with epoxy. The whole boat is glued together and finally coated with epoxy resin. It's all done with epoxy. Epoxy resin with a filler (cab-o-sil) to thicken it, is used to stitch glue the wood together, in the beginning.

It's almost like spot welding in metal. Once the glue dries you can take out the screws. Once the boat's been spot glued together and all the screws have been taken out and everything is square. Then all the edges can be filled with epoxy. The inside edges of the corners are filleted using something round (i.e. PVC pipe) The outside edges are sanded over to give it a rounded smooth edge. Fibreglass tape laminated over the external edges Pine framing was added around the tops of the sides. Temporary framing to make the bonnet. The main forward bulkhead (or frame) was stitch glued in place. The bow of the boat was cut to give it a punt like nose. This gave more volume for the same length of boat. The bonnet, ready to be bonded onto the hull. All of the wood in the boat was coated with 2 coats of epoxy resin. A light weight bog of epoxy mixed with Q-cells was used to fill the weave of the fibreglass and fair it into the hull.
To get the boat to the water I needed wheels and some way of attaching them to the boat. To keep it light and maintenance free I knocked up a chassis out of what I had plenty of, laying around the shed. Plywood So this was it. With an old 3.3hp motor We were ready to head to the water. It floats! Es sieht gut aus. (it looks good) Catamaran It floats! The boat was even big enough to invite Mum out, for fish & chips on the river. If you enjoyed this video, click on subscribe.. There's a video following this one on how I got this boat to fly! Well, not quite that high…
As an Amazon Associate I earn from qualifying purchases.


