

As an Amazon Associate I earn from qualifying purchases.

Now that we have the SmartHome system from
SmartHome Austria in full use and operate our heating with it, we now want to include the roller shutters in our
intelligent home. But one thing first: This flush-mounted roller shutter control can only be
integrated into a wired system. Electric roller shutters that communicate via radio
are not suitable for this. However, if this requirement is met , the installation of the roller shutter control is
quite easy, as the following video shows. At the beginning, however, the corresponding circuit must be
voltage-free. Therefore, the first thing we do is make sure
that our voltage tester is working and then activate the residual current circuit breaker
in the fuse box. This ensures that the current is
really switched off at all poles.
The phase tester gives a green light, or
rather no light at all. Perfect! In addition, it is always important to ensure that all
laws applicable in the respective country are observed. Because electricity is life-threatening! Next comes the disassembly. We remove the existing rockers and their
mounts with a flat screwdriver. Then the electrician's screwdriver
is used. With this we first loosen the screws of the switches,
then the screws of the retaining claws. Then we pull out the first switch. Oh dear, the electrician responsible was probably color blind, because the coloring is anything but standard. Well, never mind! Then we mark the wires according to
the arrows of the roller shutter switches used so far: blue for up and brown for down. Once that's done, we also unpack
the new switch. Lo and behold: In addition to the phase, this
also requires a neutral conductor. But that's not a problem either. Luckily, as is so often the case, there is
a socket underneath the light switch from which the ladder can be branched off. In other words, the neutral conductor is
already routed through the flush-mounted box.
We prepare two pieces of blue wire
in a Wago terminal and free up space in the flush-mounted box
by detaching the wires from the switches. We'll leave the supply line as it is for the time being
. Then we cut through the previously
discovered neutral conductor, strip the two ends and also connect
them to the Wago terminal. Made! Two neutral conductors are now available for the new
smart home roller shutter switches. Next we connect the new switches. To do this, we first connect the neutral
wire, then the wire for the blind up function and the wire for the blind down function. Then we unplug the unswitched phase
from the old switch and connect it to the new one. That already looks good! Now we fix the new roller shutter switch
in the flush-mounted box and install the second one in the same way. The light switch is also
screwed back into its original position.

Since the switch rockers of the old switches
were divided into two, these covers unfortunately no longer fit. Appropriate adapters are included for the most common branded switch
ranges – unfortunately not for the Berkers used here. But that's not a problem either. So we simply exchanged the switch
for a Busch-Jäger switch and ordered the matching rockers. However, before we attach the rockers
to the new switches, we integrate the new roller shutter control
into our system.
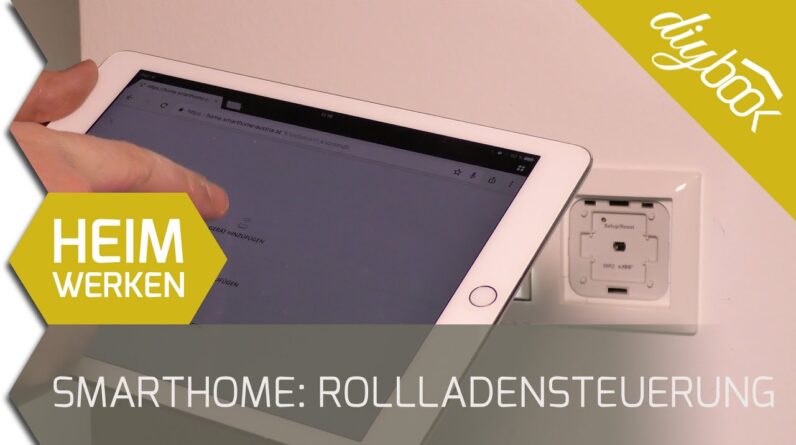
To do this, we press the setup/reset button
for 10 seconds until the green LED starts flashing. Then we log in
to "home.smarthome-austria.at" with our username and password and click on the plus symbol
in the upper right corner. We select the item "Add device"
and wait a moment until the new device is automatically detected. Next, we select the installation location
and the device type, adjust the name of the device
and confirm our entry. We skip the optional calibration
at this point. A status message confirms
the successful integration. It was actually quite easy, wasn't it? From now on, the roller shutter can be controlled not only by switch,
but also conveniently by app. And don't forget to include the roller shutter in suitable
scenarios! Because that's what makes it really smart! If you liked the video, we would
appreciate a thumbs up.
And don't forget: subscribe to diybook! Many exciting projects are waiting for you..
As an Amazon Associate I earn from qualifying purchases.


