

As an Amazon Associate I earn from qualifying purchases.

Hi! This Reolink video doorbell is the video doorbell
that we’ve all been waiting for! It supports almost everything that you could
possibly want from a video doorbell. I will show you all the features of the Relink
Video doorbell and on top of that, I will show you how you can integrate it perfectly
into Home Assistant! Let’s do this! Oh my! I have been waiting for this video doorbell
for months and now it finally arrived at my doorstep. And I can already say that it was well worth
waiting for. For the last couple of years, I used the Ring
doorbell and it worked okay-ish. I didn’t really like the fact that I needed
a cloud account to be able to view recorded videos and the integration into Home Assistant
sort of worked but was far from ideal. But now the Reolink video doorbell is here
and it totally blows the Ring away. So, goodbye Ring, hello Reolink! But, before we start, please subscribe to
my channel and hit the thumbs-up button for this video. This way, you make sure that I can keep creating
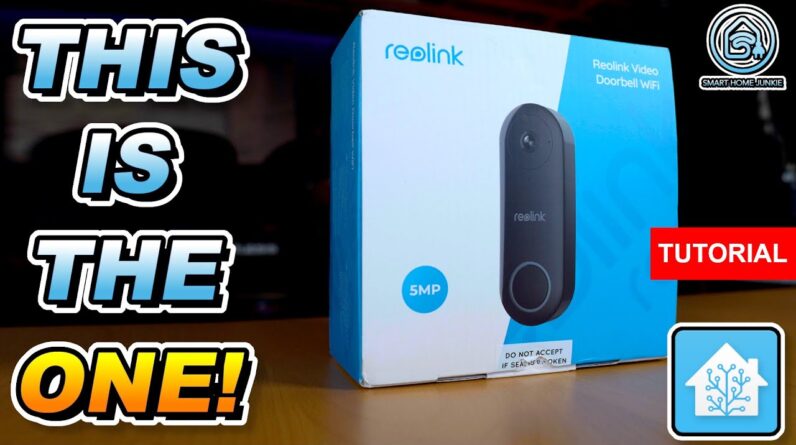
these videos for you! The Reolink Doorbell Camera comes with a lot
of accessories in the box.
First of all, we have the doorbell camera
itself which looks sturdy and well-designed. I’ve put an SD card next to it so that you
can get an idea of how big it is. Next to that, there is a chime in the package. And look at all the connectivity options! There is an adapter and various connection
cables are added to the box too. Also, a wedge is added to make sure that you
can mount the doorbell at a certain angle if needed.
The Reolink Video Doorbell comes in two types:
the WiFi version or the POE version. I selected the Wifi version myself because
that one is more convenient for me. I was pleasantly surprised that the WiFi version
has a UTP port as well so you can connect this version using a network cable too. The people at Reolink really thought about
everything to make this doorbell as complete as possible. And we’re not even there yet… Reolink decided to add the option to store
your video footage on an SD card, so your videos are all stored locally. Yes! You do not need a cloud subscription to store
your video files. That is so awesome! In fact, this doorbell camera functions exactly
the same as all other Reolink cameras, so you can store your videos on the SD card,
but also on an NVR or NAS. The app supports viewing your recorded footage
in a nice timeline. I feel that Reolink is one of the companies
that really listens to their users and our preference to store everything locally. Installation is super easy. Just connect the power cable and optionally
the network cable and plug in the adapter and chime.
You can also choose to connect the doorbell
to your existing wiring. The video doorbell will lead you through the
installation process using spoken instructions on the doorbell. You can control the doorbell using the Reolink
App and it supports everything you would expect from a video doorbell. It sends a message to your phone when someone
presses the button on the doorbell. It also sends a message if motion is detected. Setting the detection zone is very sophisticated. You can freely draw areas on the screen that
should not trigger the alert. And, on top of that, you can even sound an
alarm siren on the doorbell itself when motion is detected or by pressing a button in the
app to scare away unwanted visitors like your mother-in-law. There are two options to mount the doorbell
on your doorpost. You can mount it straight on the doorpost,
or you can use the included wedge to mount it at an angle. I’m not entirely fond of the sturdiness
of the way the doorbell is mounted. It seems that you can pull it off using some
force, but then again, you can remove every doorbell if you apply some force to it.
The video quality is very good! The maximum resolution is 2560 pixels by 1920
pixels at a frame rate of 20 frames per second. The image is crisp and bright in the evening
as well. And you can choose to view the camera in various
resolutions to get the most fluent experience. I like the view range as well, it’s about
the same as the view range of my Ring doorbell and it covers my whole front yard. When someone pushes the doorbell button, it
responds almost immediately on the chime and app, so that you can talk to the visitor through
the app instantly.
This is a big plus compared to my old Ring
doorbell where it took ages before I could respond through the app. This doorbell has so many options and it’s
almost impossible to go over all of them. In short, it has the following extras on top
of what I already talked about: Take snapshots manually, Record videos manually, Loads of
tweaking possibilities for the video image, Day and night mode, Autoreply voice messages,
Configurable button LED, Configurable detection zone and settings, Possibility to receive
e-mail notifications, Possibility to upload images through FTP, Record time-lapses, Share
camera access with your family and Accessing the footage using RTSP and ONVIF. Configuring the chime that comes with the
doorbell is really straightforward. You only have to plug it into a power socket
in the wall and it connects immediately to the doorbell. If it doesn’t connect immediately, you can
pair it manually also. It comes with a couple of doorbell sounds
and you can change the volume of the chime with a button on the chime itself. Unfortunately, you cannot upload your own
doorbell sounds to the chime at this moment. And now the best part of this video doorbell! We can connect it to Home Assistant, and make
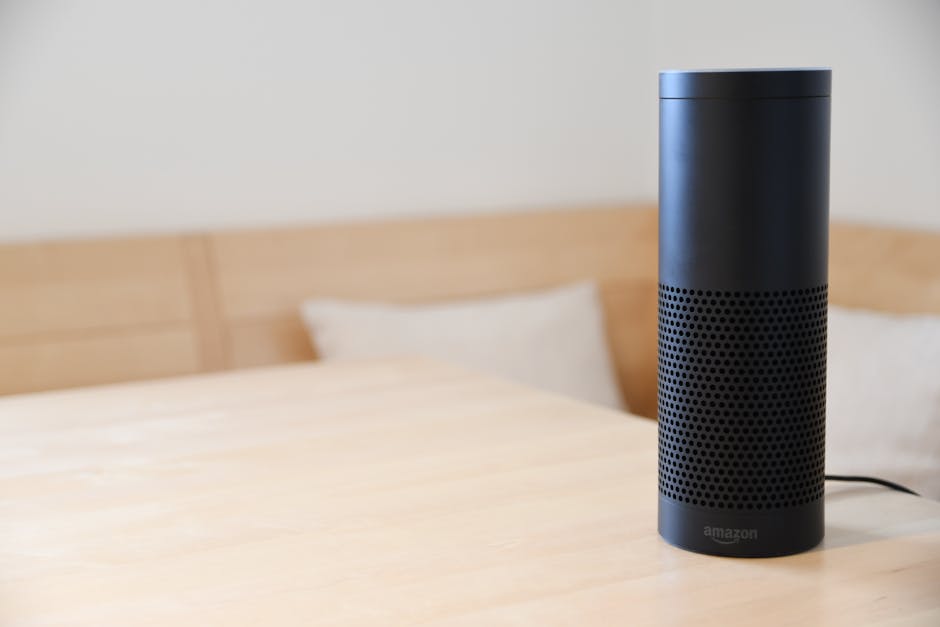
sure that it sends images to our phones, sound a chime sound on our Smart Speakers and show
the camera on our dashboard.
To make the camera work with Home Assistant
we need to configure the doorbell camera first like so: Connect to the IP address of the camera using
your browser. Log in to the user interface of the camera
where you can configure and control the camera. Click the cog wheel. Go to Network. Click Advanced. Within Port Settings click Set Up and enable
all the ports. If my videos help you and if you want to stay
up to date with my tutorials and not miss anything to increase your knowledge of Home
Assistant and Smart Home, subscribe to my channel and tick the bell. It also helps if you post a comment. This way more people get notified about these
videos. I need your support so that I can keep creating
these videos for you. Oh, and don’t forget to hit the thumbs up
for this video. This allows me to make more tutorials for
you. By supporting me, you also support my work
as a music therapist to help people with mental issues. Thank you! First, let’s set up an automation in Home
Assistant that plays a doorbell sound through your Smart Speakers.
We will connect to the Reolink Video Doorbell
using the default generic camera integration in Home Assistant later, but using only that
integration, we cannot detect if someone pushes the doorbell button. There is no official integration for Reolink
yet in Home Assistant, but there is a HACS integration that works really well and supports
detecting that the doorbell button is pushed. Let’s install this first: Go to HACS
Go to Integrations. Click on the three dots in the right upper
corner. Click Custom Repositories. Add the following repository: https://github.com/JimStar/reolink_cctv. Select Integration at Category.
Click Add and close this window. Now search for Reolink and install the Reolink
IP NVR/cameras integration. Click download and click download again. Reboot Home Assistant and don’t forget to
clear your browser cache. Now go to Settings. Go to Devices and Service and click Add integration. Search for Reolink and click on Reolink IP
NVR/camera. Enter the username, password, and IP address
of the camera and add the camera. To play a doorbell sound using Home Assistant,
you need to copy an mp3 file to the www folder in Home Assistant. One easy way to do this is to use Studio Code
Server. To install Studio Code Server, Go to Settings,
Add-ons, Click on Add-On Store and search for Studio Code Server. Click install to install Studio Code Server. After installing Studio Code Server, turn
all the toggles on and click on Start. If you open Studio Code Server, you’ll see
all the files on your Home Assistant server.
Create a folder www using the new folder icon
in Studio Code Server. Now copy the mp3 file of your choice to the
www folder. You can find the file that I used in the download
link in the description below this video. Now the mp3 file is in place, we are going
to create the automation that plays this mp3 file through our smart speaker when someone
presses the doorbell button. Go to Settings. Go to Automations and Scenes. Click Create Automation. Click Start with an empty automation.
At trigger, click Add Trigger. Select Device. And the device is our Reolink Video Doorbell. And the trigger is Reolink Video Doorbell
Visitor Turned On. Now go to Actions. Click Add Action. Click Call Service. Select the service media player set volume. Select your media player at entity. In my case it's Nest Mini Office. And set the volume level to 0,5. Clcik Add Action. Click Call Service. At Service select Media Player Play Media. At Target select your speaker. And the content ID points to the media file
on your Home Assistant server, and as you can see it points to /local and /local is
the same as /www on your server. Click Enqueue. Click Play Now and clear queue. And click Save. Give your automation a meaningful name. Reolink: Ring Doorbell. Save. Now the doorbell sound will ring through your
Smart Speaker as soon as somebody presses the button on your Reolink Doorbell. By the way, you can also download the code
that I created for this video through the download link in the description below. It’s the easiest way to get this to work.
You do not have to type the code from the
screen and will save you time and frustration. You might as well download it first so that
you can follow along in this tutorial. Next to that, you sponsor me so that I can
keep creating these videos for you. The doorbell is now audible through our Smart
speaker. Let’s add the option that a message will
be sent to your phone together with a snapshot of the video doorbell. Go to Settings->Devices&Services and click
Add integration. Search for Generic. Select Generic Camera. Enter the following URL in the still image:
http://192.168.68.169/cgi-bin/api.cgi?cmd=Snap&channel=0&rs=wuuPhkmUCeI9WG7A&user=admin&password=Subscribe! This points to the IP address of your camera
and uses the username and password of your camera. The code that you see in the rs= part of the
URL can be any combination of characters and numbers.
Enter the following URL in the stream source
URL: rtsp://admin:Subscribe!@192.168.68.169:554/h264Preview_01_main Again, the username, password, and IP address
of the camera are present within this URL. Select TCP as the transport protocol and set
authentication to basic. To be sure, enter the username and password
again in the username and password fields. Click Submit. Now click on the entity, click on the doorbell
and rename the entity_id if you wish. Update the entity. Go to the automation that we've just created. Click Add action. Select Call Service, and at service select
Notify, and select your phone. In my case it's iphone_x_ed. At message, we're going to say: There is someone
at the front door. Title is: Doorbell rings. And at Data we're going to paste some YAML
code. And what you see here is that we're pointing
to an image which is the snapshot image of the camera. Then the entity id is the camera.reolink_video_doorbell
which we just created using the generic camera integration. Then we have actions, and this is actually
an actionable notification.
The title is: Open Cameras, and the uri points
to one of my dashboards. Click Save. And now, when the doorbell rings, a message
will be sent to our phone with a snapshot of the camera. We can show the doorbell using the Reolink
integration from HACS, but if we use the default generic camera integration in Home Assistant,
we can even show the live stream on our Dashboard, so let’s do that! We’ve now connected our Reolink Video Doorbell
to Home Assistant which is great. With This doorbell, you have a completely
local solution for your doorbell camera and it responds super fast! It’s even possible to automatically show
the camera full screen on a tablet, but for the sake of the length of this video, I will
explain that in another video in the future.
I think the Reolink Video Doorbell is awesome
and delivers a lot of value for your money. I only miss the possibility to upload my own
chime audio files to the chime. And it does not have the possibility to connect
it to an existing chime that you may already have in your house. But that last issue is not really an issue
for me, because I did not use my old chime anymore anyway. The only annoying thing that I could find
is that I cannot change the volume of the doorbell ding on the doorbell itself.
It’s quite loud and I would like to be able
to set the volume lower. For some reason, I couldn’t find that in
the settings. It would be nice if that can be added in the
future. All in all, I believe the Reolink Video Doorbell
is the video doorbell that we’ve all been waiting for. Local control and the possibility to integrate
it smoothly into Home Assistant made me replace my Ring doorbell immediately. I’d say, don’t hesitate and try this doorbell
yourself. I’ve added links where you can buy this
Reolink Video Doorbell in the description of this video. I want to thank everyone who has supported
me in making these videos and tutorials so far. I could never have done this without you. Thank you! You can support me through Patreon, Ko-Fi,
or by joining my channel. If you also want to support me, look in the
description of this video for the links. With that, you make it possible that I can
continue to make these videos for you. Oh, don’t forget to give this video a thumbs
up, subscribe to my channel, and hit the notification bell.
I will see you soon! Bye bye!.
As an Amazon Associate I earn from qualifying purchases.


