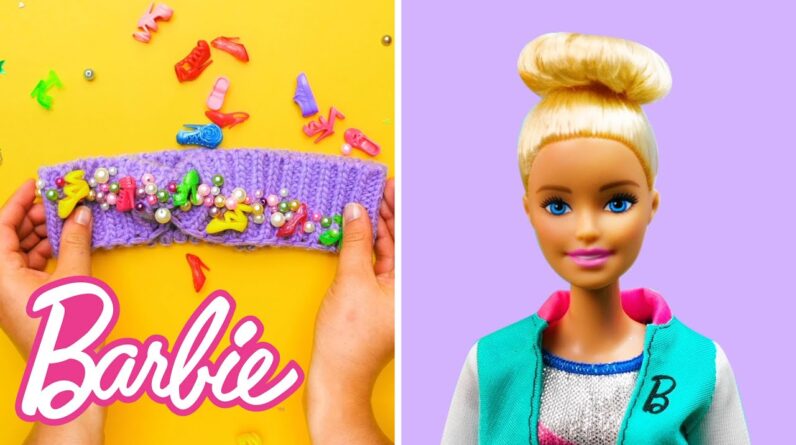
Hey, hey! Teresa and I just finished
gymnastics practice. And Holly is almost
done with her soccer coaching for the afternoon. And to celebrate this
beautiful summer day, we've decided to
throw a super fun outdoor camping-themed
slumber party! Wow! Yay! In the dream camper. But we have a few things to
prep before our party can begin. That's where the
Five-minute Craft comes in. I have some really
fun DIY crafts to share that make any
camping adventure or slumber party a hit. Phew! [laughter] Let's go. The first thing on the agenda
for any party is snacks. Teresa is going to prep a picnic
dinner for us to enjoy later. And while she does that,
I'll set everything up. For this DIY camp site, you'll
need a shoe box, a green grass mat, craft glue, safety
scissors, moss, small rocks, small wooden branches,
and an LED tea light.
Oh, and pro tip– ask adults for help with
the gluing and the cutting. Do you like picnics? I love a good outdoor picnic
with my sisters and my friends and of course, Ken. Oh, this looks like
the perfect spot. But I can't imagine camping
without a cozy campfire. You can make a hole
for the LED tea light for the perfect campfire. Be sure to ask an adult
for help on this part. And now, all we need is
marshmallows and chocolate. Which reminds me, my friends and
I have a pretty cool tradition. We love to sit
around the campfire, make s'mores, and
share our dreams.
This was a nice way to connect
and inspire each other. Last summer, Teresa
said her dream was to learn how to cook, which
is perfect for our next craft, a barbecue. OK, it's time to
make our barbecue. Oh, it's good to ask
for an adult's help when cutting holes on this one. [sniffs] Ah, I can already
smell Teresa's delicious grilled hot dogs. Wow! You really can be anything! Yay! Doing flips and
flipping burgers? Can't wait for those later. OK, time for the next craft. All right. This DIY backpack I'm going
to show you right now is perfect for carrying around
camping equipment, sports equipment, slumber party
essentials, or anything really. You'll need a zipper, glitter
foam sheets, stickers, safety scissors, and
some nontoxic craft glue. How cute is this small zipper! I usually carry my gymnastics
leo or soccer uniform in my backpack, or in the
summer, my swimsuit and towels.
Oh! By the way, check out my vlog
on my beach day packing list. You'll see what
else I keep in here. Looking good. My favorite thing about
crafting is that you really can make anything your own. Crafting is all about
self-expression, creativity, and having fun. There is no right
way to do any craft. The right way is your way. This little rainbow is so sweet. Finishing touches. Our backpack is
stylish and useful. Perfect combination. Ooh. Yay! Look inside, Holly. There's something
in there for you. Aww. You are a wonderful coach. Just look how happy
Chelsea and her team are. Yay! Go! Don't worry, team. I have a new one for you. Enjoy your game! Holly, I'll see you at the
dream camper for a slumber party when practice is over. Yay! OK. On to the next craft– DIY headbands. If you saw my latest blog
on DIY fashion hacks, then you know how much
I love DIY fashion. We're going to use this old
sweater that no longer fits to make a new headband. You'll also need a lot of my
accessories, shoes and bags and anything else you may have.
Craft glue safety scissors,
a needle and thread. Definitely ask adults
for help in sewing. This headband is so cute. I wanted to put it in
my DIY fashion vlog, but I ran out of time. This is why I love fashion. You can use your imagination
to create different looks to express your mood
or unique style. And we definitely
need our imaginations for this next craft. This might look like
ordinary colored pencils, but with a little imagination,
we'll turn them into a hammock. For this DIY hammock,
you'll need colored pencils, craft glue, toothpicks, a
piece of printed fabric, and a ribbon. I can't wait to cozy up by the
campfire and read here later. This will be perfect for
our slumber party setup. I can picture it going right
next to the dream camper. It looks like
Chelsea's soccer team can't wait to hang out
on the hammock either. The sun is starting to set. We need to get our
sleeping bags ready. It's almost slumber party time. One of Chelsea's
favorite hobbies is watching for shooting stars.

For this DIY
sleeping bag, you'll need a piece of cotton fabric,
a piece of fleece fabric, sewing machine, and hair
ties, and definitely an adult to help. We'll be nice and warm
and toasty later tonight in these sleeping bags. We'll also have
plenty of time later for spooky campfire stories! If you didn't
already know, Chelsea is the reigning champ of spooky
campfire stories and pranks. I wonder what she's
prepped for tonight. Anyway, on to the next craft. My swim team meets
every other Saturday, and this DIY cabana is the
perfect spot for my teammates and I add to huddle up under
while we wait for our heat. For this outdoor cabana,
you'll use craft sticks, non-toxic glue, cardboard,
a sponge, fabric, safety scissors, non-toxic
paint, a brush, and a piece of tulle for decoration. But today, this cabana will
be the perfect spot for us to hang out in during
our slumber party. Maybe we can have breakfast
here tomorrow morning. You can never have enough tulle. It's so comfortable. Whoa! Hey, Taffy. Do you want to swim too? Let's go to the
dream camper pool.
Now you can jump and swim. Wow. Looks like you have a few
tricks you can show me! I could shell out for a second. Good thing, we're making
DIY yoga mats next. Namaste, everyone. For this DIY, you'll need
a foam sheet, a ruler, a plastic stick, a
couple of hair ties, and some non-toxic glue. Have you ever tried yoga? I should have
actually asked have if you ever tried to go yoga? [chuckles] My friends and I did last year,
it was definitely interesting. Anyway, sometimes
trying something new, like yoga or go yoga, can
seem intimidating at first. I find that as long as I
go into any new experience with an open mind and
a positive attitude, I'm always glad I did it
or tried it, like swimming.
I was actually nervous
to join the swim team, but it has opened up so
many new experiences, and I've made a
lot of new friends. I am really glad I tried it. OK. Our yoga mat is almost ready. Perfect. I'm going to try some
of my new yoga poses. But first, I'm going to practice
some of my floor routine with this DIY foam pit. You'll need a shoe box,
safety scissors, colored tape, and you can use a sponge
for the foam pieces. Did you know that foam pits
are one of the ways gymnasts safely practice their tricks? Here, we'll show you. Ready, Teresa? Go! [laughs] Phew! Yay! But this foam pit
will also be super fun to play around in
during our party.
And last but not least,
these little DIY plants have the perfect touch of
green to any camping scene. All you need is yarn,
safety scissors, and a piece of cardboard. [music playing] Thank you for joining
me on this DIY outdoor camping-themed
slumber party extravaganza. We are going to have so much
fun tonight at our party. S'mores, shooting
stars, scary stories, Maybe I'll fill up some
of this for a vlog.
Anyway, let me know if
you try any of these DIYs. Have fun. And remember, peace. Bye! [music playing].
As an Amazon Associate I earn from qualifying purchases.


